Clear Casting
In this resin casting how-to guide, we'll take you through the clear casting process step by step.
Almost anything can be embedded in clear casting resin!
It can be used to produce:
- paper weights and other ornaments
- pendants and other jewellery
- key rings
- display items.
Clear casting is also an ideal means of preserving medical and biological specimens.
Moulds specifically designed for clear casting are available, but you can also use polythene cartons, often used as freezer food containers in shops. Please note - polystyrene containers cannot be used. Moulds can be constructed from wood, glass or melinex covered card. Silicone rubber moulds can be used, but for best results, we recommend addition cured silicone. Rigid moulds should be wider at the top for easy removal.
Materials
You will need:
- water clear casting resin
- catalyst (hardener) - included with resin
- pigment (optional)
- measuring syringe
- plastic mixing cups
- mould
- wet and dry paper
- polishing compound
- protective equipment
THESE MATERIALS ARE UNSUITABLE FOR USE BY CHILDREN UNLESS UNDER SUPERVISION.
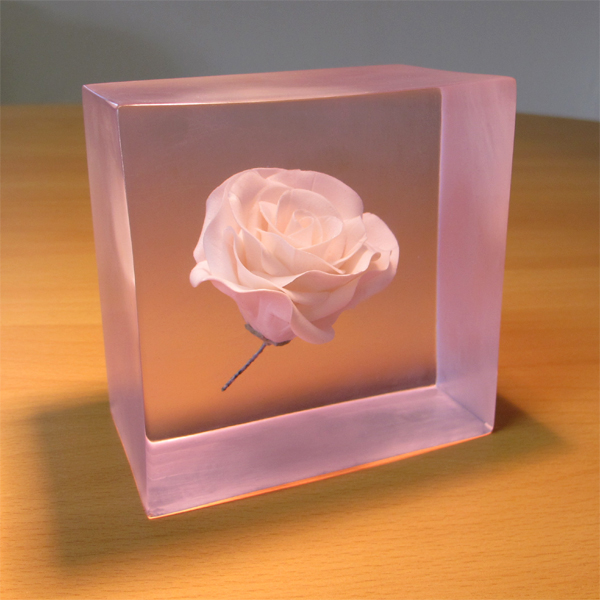
This image shows a rose made from icing, embedded using our Water Clear Casting Resin
Preparing Specimens
The way you prepare your specimens depends on the type:
- Biological specimens such as insects and other small animals contain natural oils which must be removed before embedding. This can be done by dipping the specimen in acetone solvent and ensuring it is thoroughly dried.
- Flowers also need to be carefully dried. The simplest method is to place the flower on a layer of dry white sand in a container. Sprinkle more sand around the flower until it is covered, and then leave it for three days in a warm,dry atmosphere. It can then be removed and sealed with polyurethane varnish or hair lacquer. Flowers do tend to change colour once they're embedded, due to the dyes being affected by the resin. Flower preserving chemicals can be obtained from your local chemist.
- Stamps and other paper items should be sealed with a thin coat of polyurethane varnish and dried before embedding.
- Coins, etc. need no special treatment as long as they are clean and dry.
Method
Step 1: Pour a little resin into a mixing cup and leave it to allow air bubbles to rise. Carefully stir the required amount of catalyst into the resin. The normal working proportion of catalyst is 1% by weight (i.e. 10ml catalyst to 1kg resin), but this can be increased to 2% for very small quantities of resin, or in low working temperatures. It is important not to use too much catalyst, which may result in the casting becoming cracked or discoloured. See our guide to Mixing Catalyst for recommended additions of hardener to resin.
Step 2: Pour the resin into the mould to form a base layer, cover the mould to protect from dust, and leave to harden. After about 40 minutes at 20ºC, it will have reached a firm jelly-like consistency.
Step 3: Place the prepared specimen on the base layer. Very light specimens will tend to float and need to be glued to the base layer with a drop of resin.
Step 4: Mix up a further quantity of resin and gently pour it around the specimen. In a very small casting the specimen can be covered in one pouring, but it is generally better to build up the casting in a series of layers. A large casting done in one pouring may generate too much heat and crack. Metal and solid objects generally tend to expand or contract at a different rate from the resin, which can result in a crazy effect.
Step 5: When the final layer of resin has gelled (set firm), cover it with a sheet of cellophane or melinex to exclude air, otherwise it may set with a tacky surface. When fully hardened, the casting can be removed from the mould.
Finishing
Any surface tack can be removed with neat washing-liquid, followed by a rinse in warm water. This should not be done until the resin is fully cured (about seven days). After complete cure the casting can be shaped further if required, with a hacksaw, file or sander to cut roughly to shape, in which case a protective mask should be worn. Then use wet and dry paper, starting with a coarse grade and working through to finer grades. Finally, polish with compound.
We hope this guide to Clear Casting has been helpful. If you have any questions or need some advice, please call us on 01209 821028 or email us.